작업 os: WinXp, VC2008 .Net(C#)
본 자료는 SourceGrid 사용방법을 기술한 것으로.
하기 www.devage.com에서도 같은 내용을 무료다운가능합니다.
1. Designer쪽 UI Form에 sourceGrid를 넣는다.
=. toolbox에서 마우스오른쪽을 눌러 "Choose Items..."을 선택한 후,
첨부파일중에 User Control로 제작되어져 있는 SourceGrid2.dll을
loading하면 해당 아이콘이 생성된다.
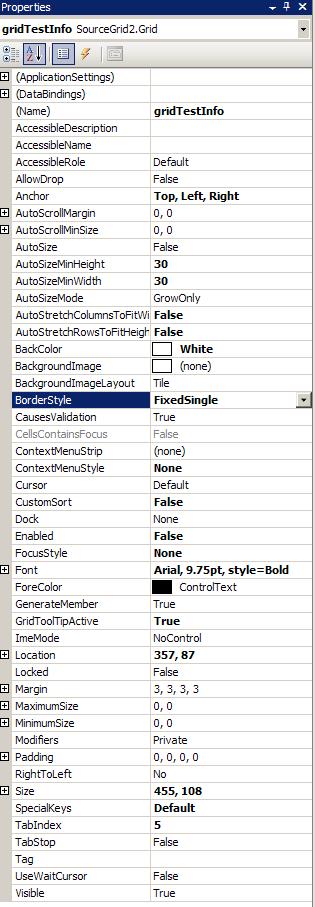
2. grid에 이름을 넣고, 하기와 같은 설정으로 하였다.
3. Form이 Load되는 시점에, Row 4, Column 9개의 Grid를 만들었다.
/// function history
/// Makeby : HJKIM@FROM30 20090824
/// FuncName: MainUI_Load
/// review : While this form is loading, create Grid of the TestInfo in it
/// apply : SourceGrid2.dll UserControl method.
private void MainUI_Load(object sender, EventArgs e)
{
// 2차원 배열 선언.
string[,] strTestInfo
= new string[,]{{"TestID","LotNo","FabCode", "Device Code",
"Grade", "Process", "Customer", "OperatorID", "SystemNo"},
{"PGM P-Code", "PGM Name", "PGM Temp", "H-Set Temp",
"Meas Temp", "Test Type", "Input QTY", "Start Date", "End Date"} };
gridTestInfo.BorderStyle = BorderStyle.FixedSingle;
gridTestInfo.Redim(4, 9);
for (int row = 0; row < 4; row ++){
for (int col = 0; col < 9; col++){
if (row == 0)
gridTestInfo[row, col]
= new SourceGrid2.Cells.Real.ColumnHeader(strTestInfo[0, col]);
else if(row == 2)
gridTestInfo[row, col]
= new SourceGrid2.Cells.Real.ColumnHeader(strTestInfo[1, col]);
else
gridTestInfo[row, col] = new SourceGrid2.Cells.Real.Cell("");
}// for int col
}// for int row
gridTestInfo.AutoSizeAll();
}
==> 여기까지 실행시키면, Form에 4,9 Grid가 만들어져있을것이다~~
'프로그래밍 > .Net' 카테고리의 다른 글
| file access, file을 생성하고 읽어보자 (0) | 2014.01.17 |
|---|---|
| OpenFileDialog 사용하기.(OpenFileDlg) (0) | 2014.01.17 |
| 버튼에 이미지를 넣어서 마우스 포인트 이동시 변환되도록 (0) | 2014.01.17 |
| c#에서 윈도우 메세지 보내기.. - 발췌 (0) | 2014.01.17 |
| resx Resource(리소스파일) 활용하기 (0) | 2014.01.17 |